|
Ningbo Joident Electronics Technology Co.,Ltd
|
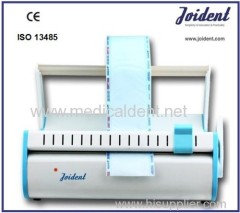
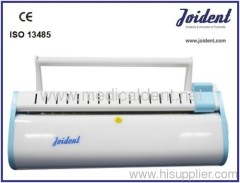
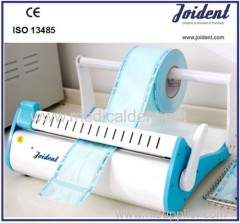
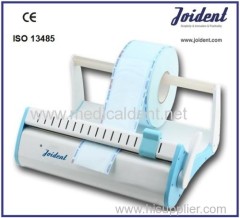
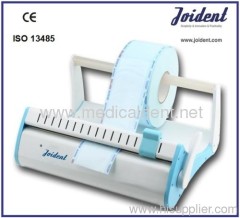
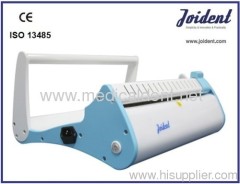
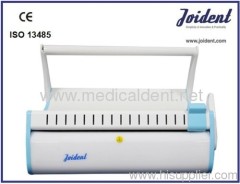
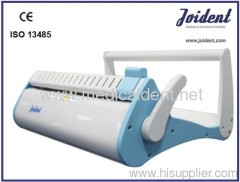
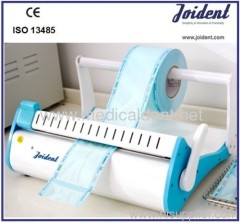
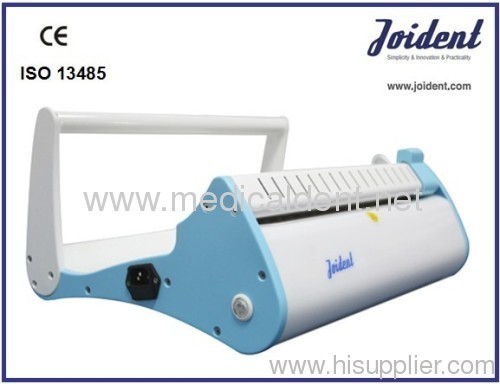
Beep-alert Aluminum Body Sealing Equipment
| Price: | 1.0~500.0 USD |
| Payment Terms: | T/T,L/C,WU |
| Place of Origin: | Zhejiang, China (Mainland) |
|
|
|
| Add to My Favorites | |
| HiSupplier Escrow |
Product Detail
*Beep-alert(for heating Status);
*Energy saving design;
*100W power
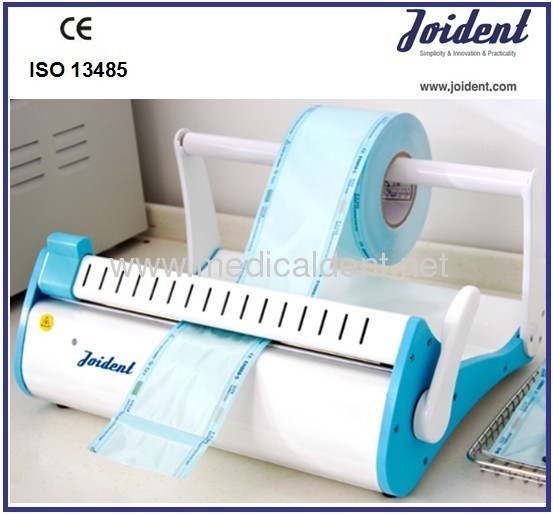
Energy Saving Design Dental Packaging Machinery Sealer/Beep-alert Aluminum Body Sealing Equipment




1-Main Features
*Sealing length: 30cm.
*According to European standard sealing.
*PC board with automatic temperature control.
2-Technical data:
4-Note:
5-Payment details
T/T, L/C & west union acceptable.
6-Shipment
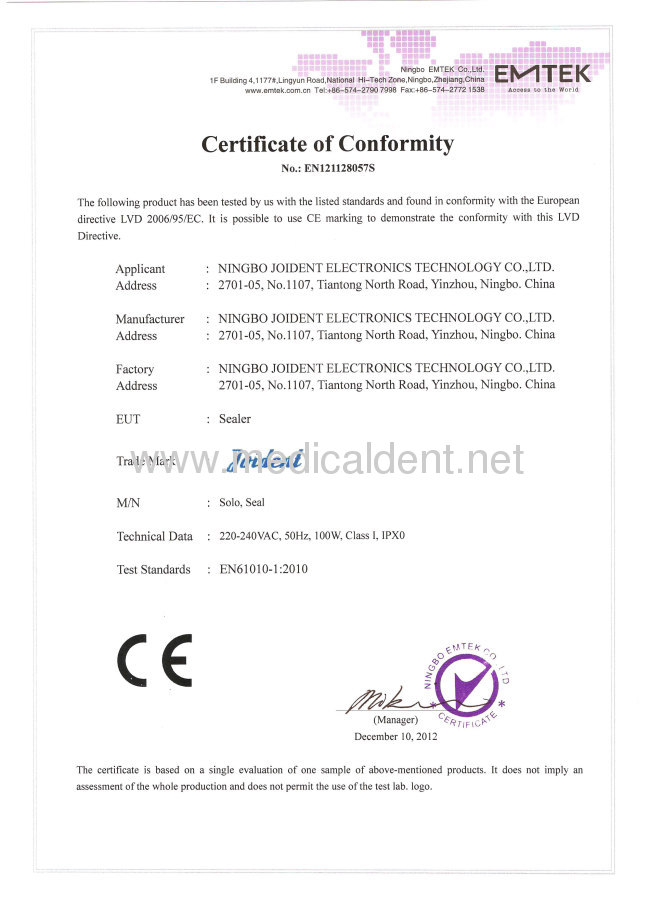
7-CE certificate from TUV
2-Technical data:
Power input | AC110V/230V 50/60Hz |
Pre-heating | 2~3minutes |
Power | 100W |
Isolation | I/IPX0 |
Type of sealing | At constant temperature |
Sealing length | 30cm |
Sealing width | 12mm |
Gross weight | 7.5kgs |
Package Dimensions (WxLxH) | 460*360*170mm |
Environmental temperature | +5 / +40 °C |
Relative max. humidity | 85% |
Max voltage variation | ± 10 % |
Pollution level | 1 |
3-Instruction
(a) Connect the power cord to the power connector which is on the back side of the sealer, check if the voltage of your equipment matches the voltage of the local electrical network.
(b) Switch the sealer on by using the power switch on its back side and adjust the sealing temperature through the temperature selector on its right side according to the thickness of the material to be sealed. When the green LED goes off (after around 2 minutes) the sealer will be ready to be used.
(c)Place the roll on the holder. The beginning of the roll shall be inserted through the back side, between the pressure bar and the sealing bar always with the paper side down (resistance's side)and the plastic side up (directly under the upper pressure bar). Pull the sealer arm towards the operator and press it down softly until it is locked. Exaggerated pressure may break the sealer arm and this kind of damage is not covered by the warranty. The sealing time (around 4seconds) must be manually controlled by the user. Note: If the sealing temperature is too low or too high the sealing might be inefficient (the envelopes may be stuck to the sealing area when they are pulled or be visibly badly-sealed). To correct this, adjust the timer properly. Once adjusted it is not necessary to perform any other adjustment to continue sealing.
(d) To cut the packages, still with the arm locked, slide the blade from one side to the other, raise the sealer arm and remove the envelopes.Note: If the blade knob is pulled slowly the paper may crease and the cutting will not be adequate. To make it more precise, pull the blade knob quickly. If necessary, slide the cutting blade more than once.
4-Note:
a- Keep the sealing platform always clean. The accumulation of waste on the sealing area will reduce the life cycle of the resistance and the insulating material. For an effective cleaning, wait for sealing area to cool down and use a cloth slightly moistened with alcohol.
b- If it is necessary to replace fuse, use only those which have the same specifications as the genuine parts.
c- While packing the instruments protect the ones which have cutting and piercing tips with cotton or gauze to avoid the packages rupture.
d- Place the sealed envelopes with instruments into the autoclave. Check the instructions from the manufacturer of your autoclave regarding the arrangement of the package and the sterilization cycle.
e- Unplug the power cord when servicing or cleaning the equipment.
5-Payment details
T/T, L/C & west union acceptable.
6-Shipment
Express: 1 or 2pcs samples testing, express recommended.e.g: TNT,DHL,UPS etc. Shipping days 3-5days.
Air shipment: Between 3pcs and 5pcs, normal air shipment recommended. Shipping days 5-10days.
Sea shipment: More than 6pcs, normal sea shipment recommended. Shipping days around 30days.
Air shipment: Between 3pcs and 5pcs, normal air shipment recommended. Shipping days 5-10days.
Sea shipment: More than 6pcs, normal sea shipment recommended. Shipping days around 30days.
7-CE certificate from TUV


Didn't find what you're looking for?
Post Buying Lead or contact
HiSupplier Customer Service Center
for help!
Related Search
Body Building Equipment
Aluminum Foil Sealing Machine
Aluminum Foil Sealing
Sms Alert
Equipment
Lock Body
More>>



.jpg)
